Jitterbit Hosted API Tutorial: 302 Redirect with Cloud Studio
02 Apr 2020
First, let’s build a Jitterbit API endpoint that performs a “302” HTTP redirect to https://example.com/ using “Cloud Studio” to flesh out the back-end behavior.
Why?
For context, check out the first post in this series.
Back End: Build an “Operation” in Cloud Studio
From the Jitterbit Harmony homepage (https://login.jitterbit.com if you logged out), click on the big orange “Cloud Studio” link.
In the upper right, click on the round orange “New Project” button.
For this example, I’ll name my project “Forced API Responses Cloud” and use an “environment” specific to my company that is for testing purposes. Click the round orange “Start Designing” button.
(Note: In most screenshots, it’s named “Forced API Responses,” but I eventually renamed it “Forced API Responses Cloud and didn’t want to re-do all my screenshots.)
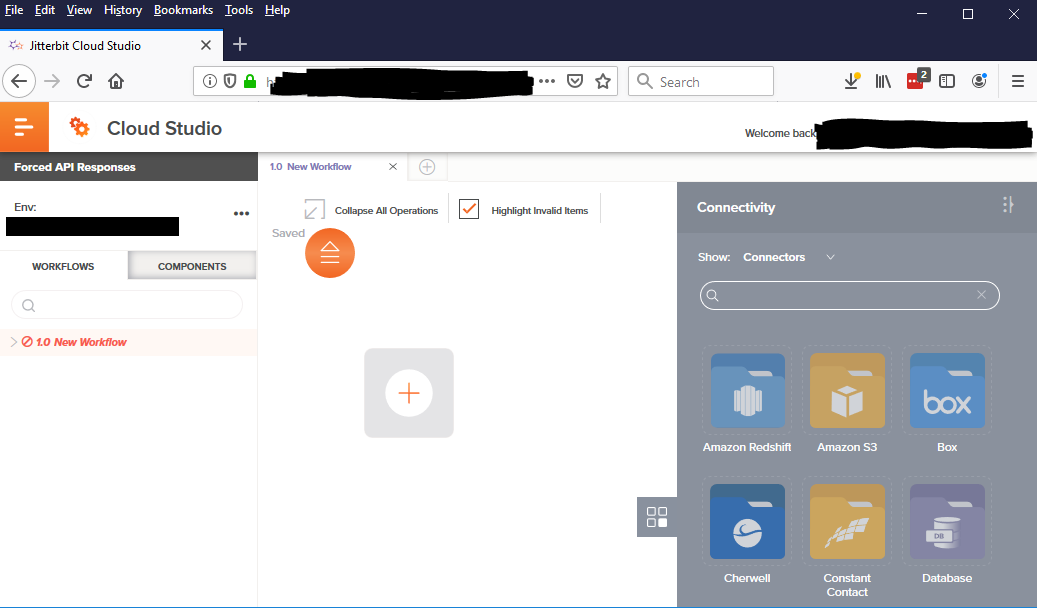
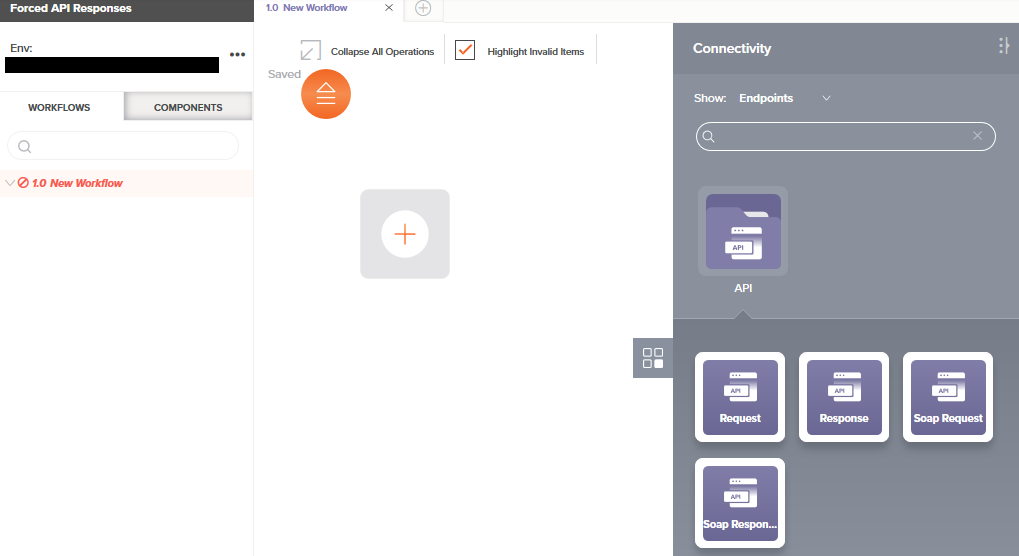
You should now see a new “cloud designer” project, like this:
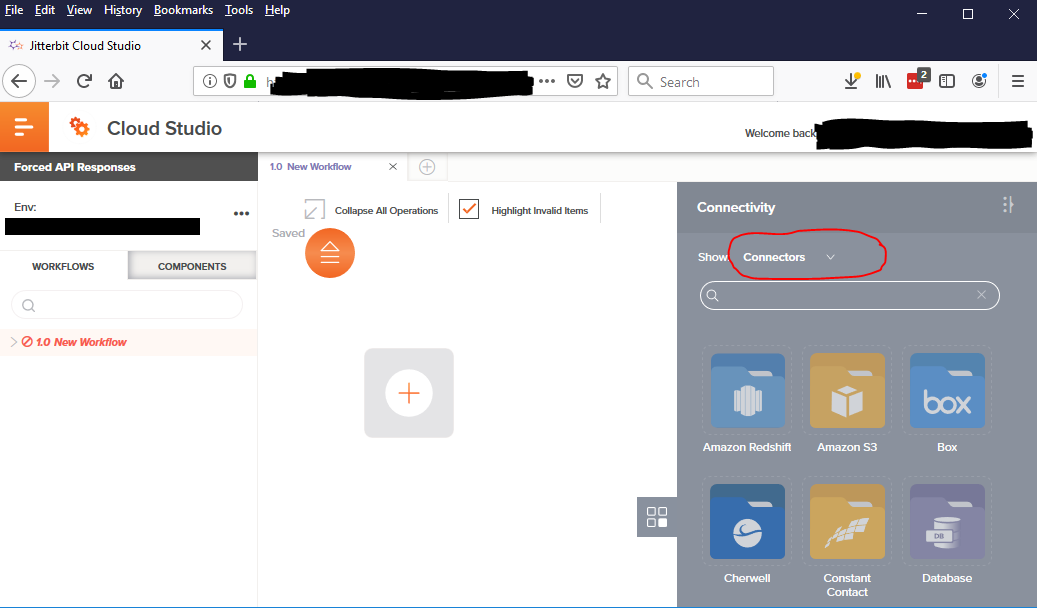
At right, in the gray “Connectivity” panel, next to “Show,” use the picklist to change “Connectors” to “Endpoints.”
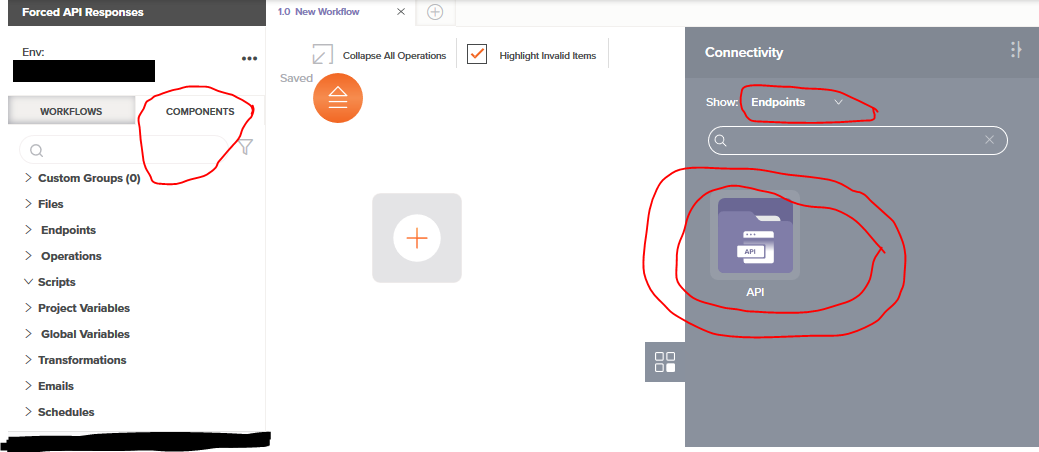
Single-click the icon labeled “API” in the “Connectivity” panel.
(Note: I also like to click the “Components” tab at left instead of the “Workflows” tab because I find it’s easier to see all the “good stuff” that way.)
Now you should see 4 more icons below the “API” icon.
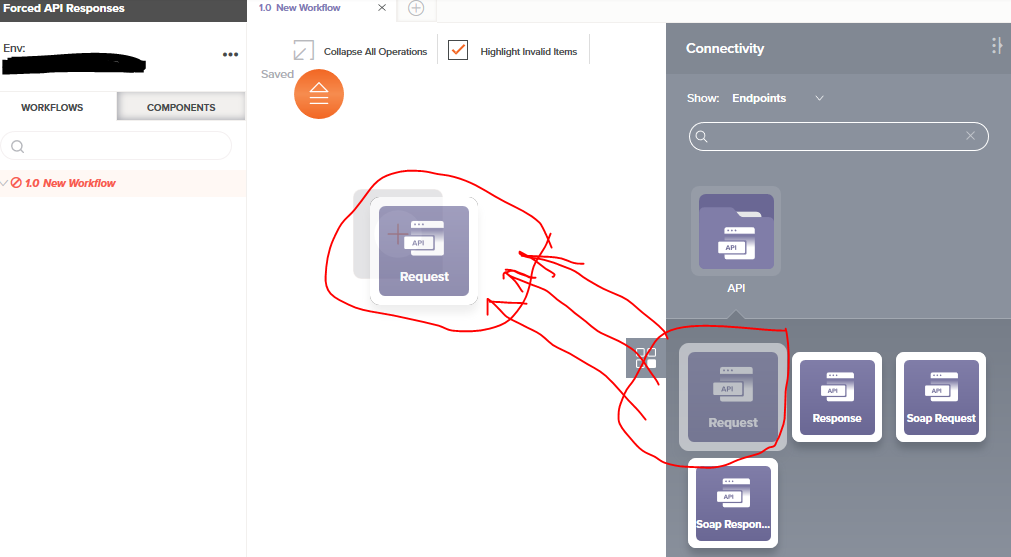
Drag the icon labeled “Request” into the center panel, over the plus-sign icon.
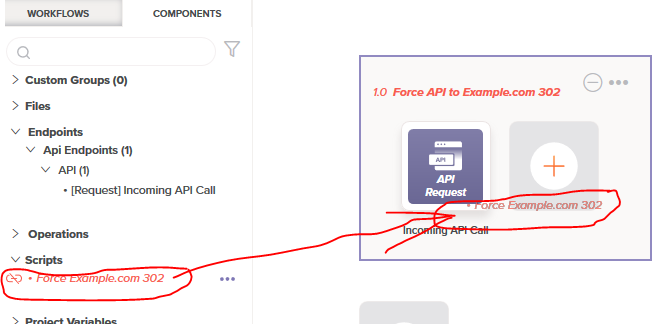
In the left panel, hover over Scripts and click the 3-dot icon to its right, then click “Create New.”
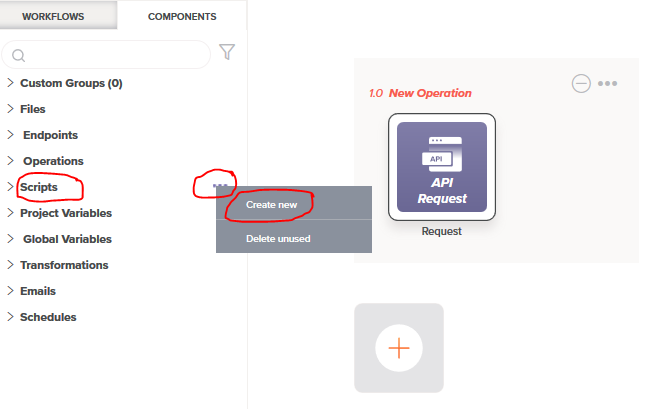
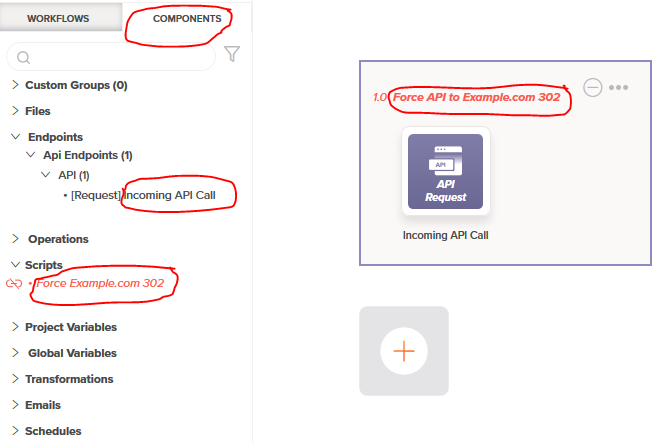
“New Script” (or something like that) appears at in the left panel, under Scripts. Let’s rename it “Force Example.com 302” and do some other renames while we’re at it, for tidiness:
- Left panel, under Endpoints: double-click “Request” and rename it “Incoming API Call.”
- Center panel: double-click “New Operation” and rename it “Force API to Example.com 302.”
Now drag the script “Force Example.com 302” from under Scripts in the left panel onto the “plus” icon to the right of “Incoming API Call” in the center panel.
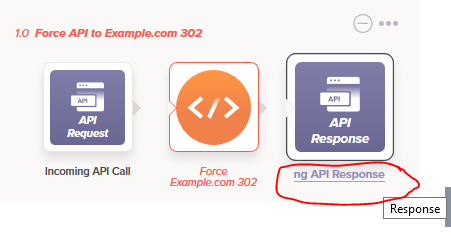
Ignoring for a moment that our script doesn’t yet do anything, in the right panel, below the “API” icon, drag the icon labeled “Response” into the center panel, over the plus-sign icon to the right of the icon representing the “Force Example.com 302” script.
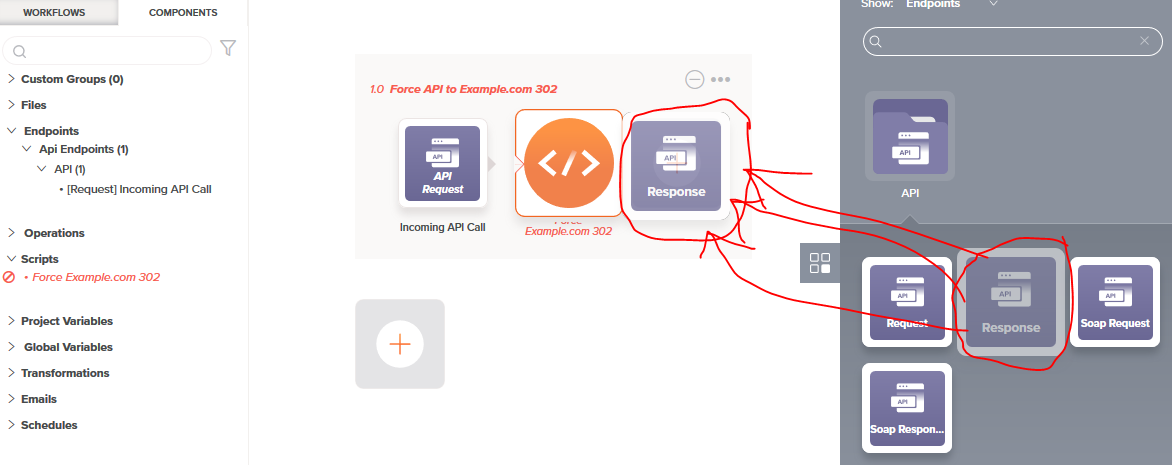
Name it something like “Outgoing API Response” so that it makes more sense when you look through your components in the left panel.
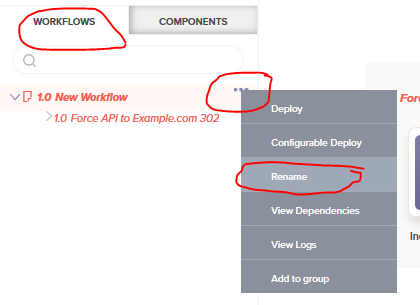
Come to think of it, while we’re renaming things, let’s go to the Workflows tab in the left panel, hover over “New Workflow,” click the 3 dots, and click “Rename” to give the whole workflow a more meaningful name.
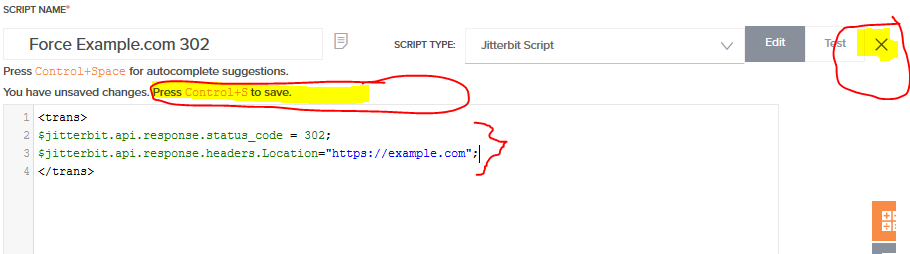
Now go back to the “Components” tab of the left panel and double-click the icon in the middle of the center panel representing your script named “Force Example.com 302.”
It should bring up an editor where you can flesh out what the script does.

Replace the code block with the following code:
<trans>
$jitterbit.api.response.status_code = 302;
$jitterbit.api.response.headers.Location="https://example.com";
</trans>
Use “Ctrl+S” on your keyboard to save your work, and then click the “X” in the pop-up’s upper right corner to close it.
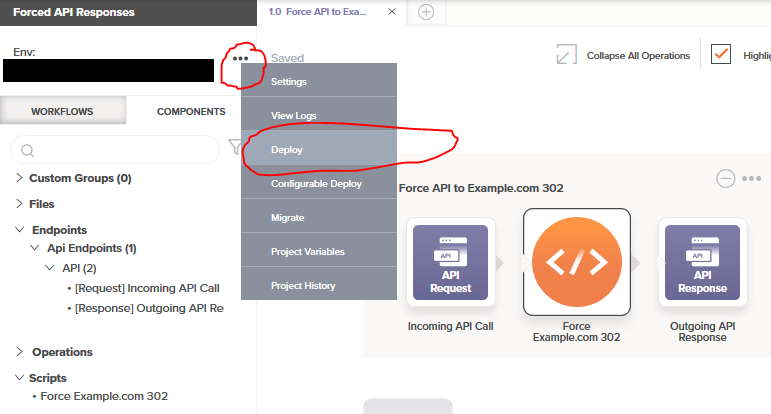
Toward the top of the left panel, above the “Workflows” & “Components” tabs, hover next to the name of the enviroment you built this project in and click the 3 dots, then click Deploy.
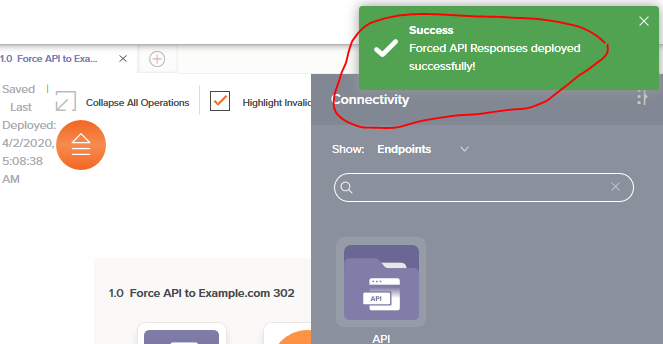
You’re done if a green “success” message briefly pops up in the upper-right corner.
You have now built and deployed a Jitterbit “operation” within a Jitterbit “project” that is compatible with its “API Manager” tool.
Front End: Build an “API” in API Manager
From the Jitterbit Harmony homepage (https://login.jitterbit.com if you logged out), click on the big green “API Manager” link.
In the upper right, click on the round orange “New API” button.
Ultimately, because I’m blogging 4 times, I’ll end up repeating these instructions 4 time with the following choices for “API Name” & “Service Root”.
| API Name | Service Root |
|---|---|
| Demonstrate 302 Cloud | demonstrate302Cloud |
| Demonstrate Hello Cloud | demonstrateHelloCloud |
| Demonstrate 302 Desktop | demonstrate302Desktop |
| Demonstrate Hello Desktop | demonstrateHelloCloud |
I’ve screenshotted the process for a “302 redirect to example.com with a cloud-studio-based backend,” but it’s pretty much the same for every pass.
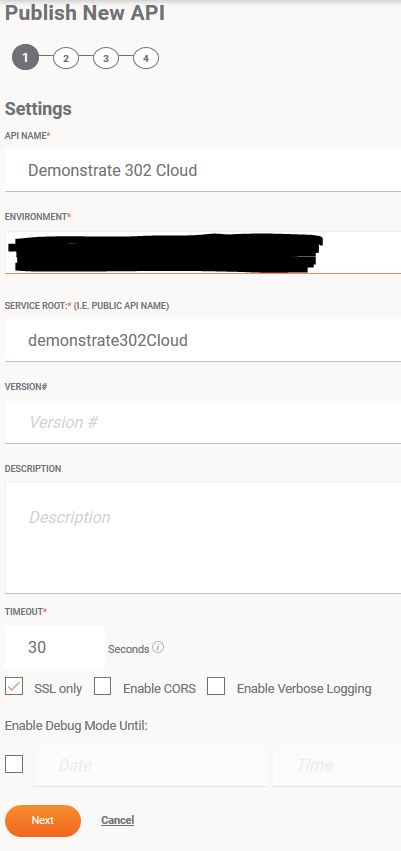
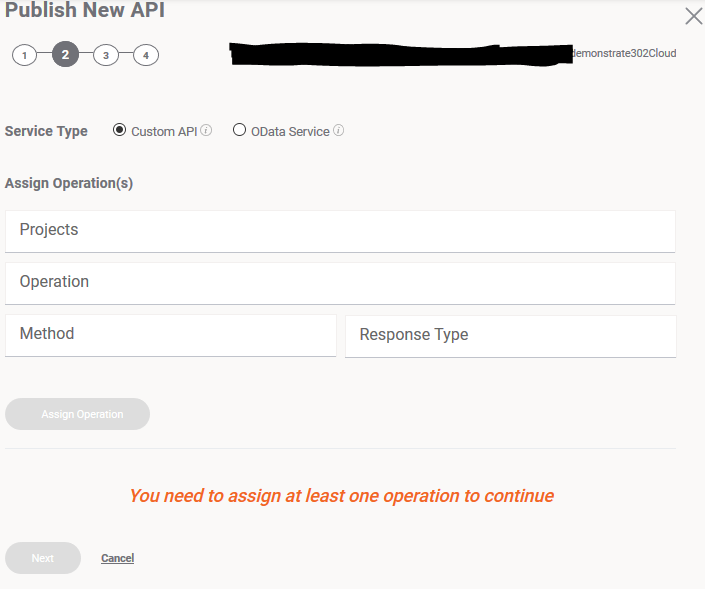
Once I’ve chosen good values on the 1st page (of 4) of the API builder, I click “Next.”
Now I’m allowed to add up to one “Jitterbit Operation” (from within a “Jitterbit Project”) for each HTTP “method” that the API endpoint I just gave a URL can respond to.
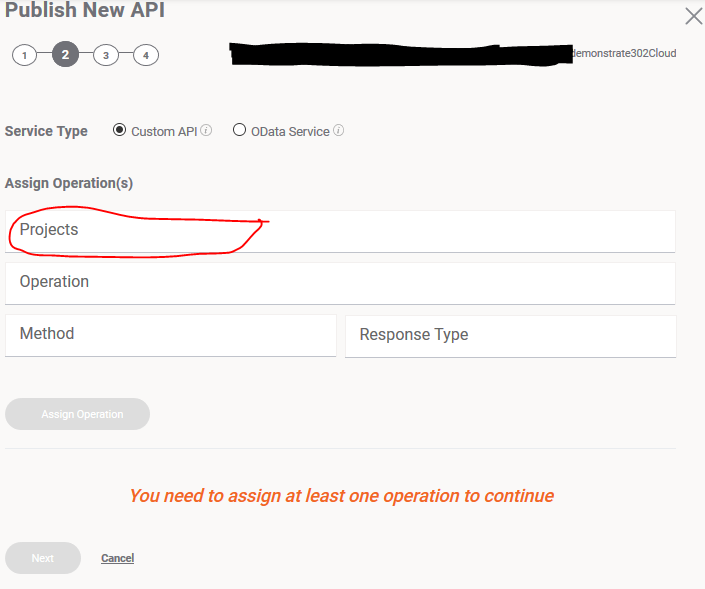
First I click “Projects.”
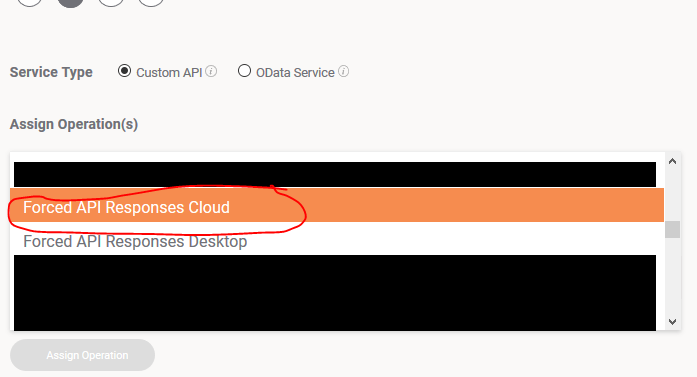
I scroll through the picklist and find, for this example, my project called “Forced API Responses Cloud.”
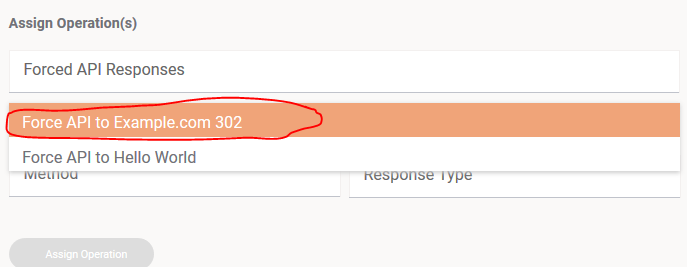
Then I click “Operation” and, for this example, choose the one called “Force API to Example.com 302.”
(In my screenshots, I had already added a 2nd operation to the project called “Forced API Responses Cloud.”)
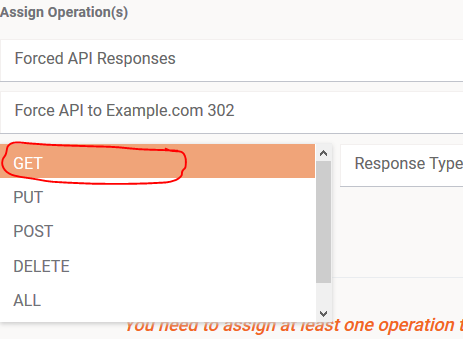
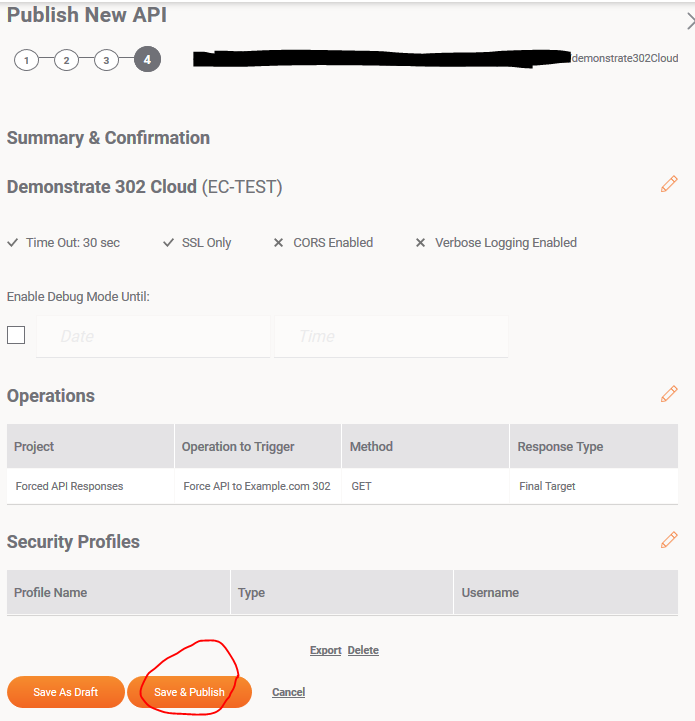
Clicking “Method,” I choose “GET,” because that’s the “HTTP method” that happens when a human punches a URL into a browser bar, so that’s what I want to “handle.”
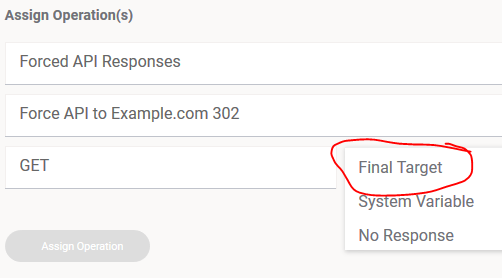
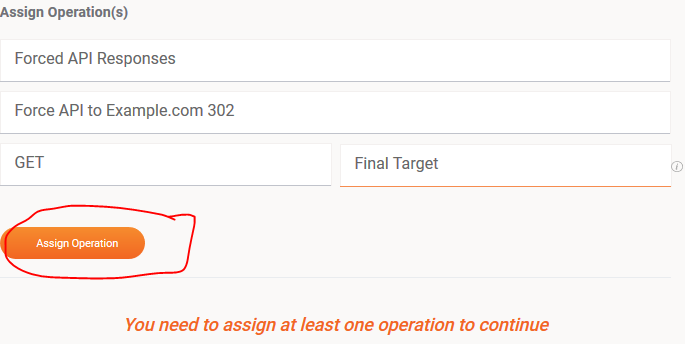
Finally, I’ll set “Response Type” to “Final Target,” which, from what I can tell, means, “Read the $jitterbit.api.response... variables and such, whose values were set during the operation, to figure out what kind of response to send back to the user’s web browser when they visit this URL.”
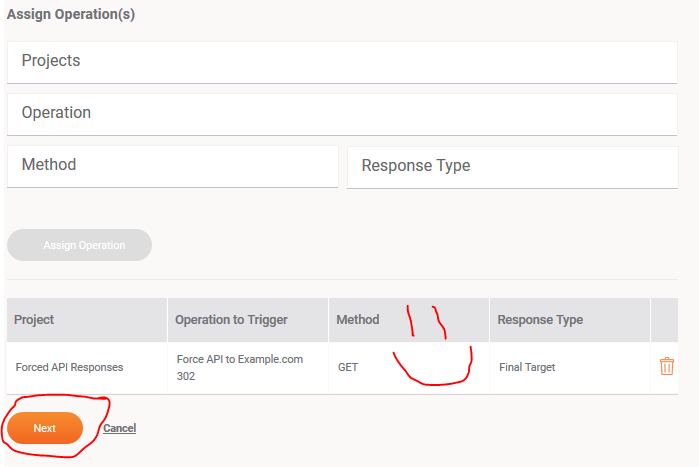
Now click the round orange “Assign Operation” button.
Looking good!
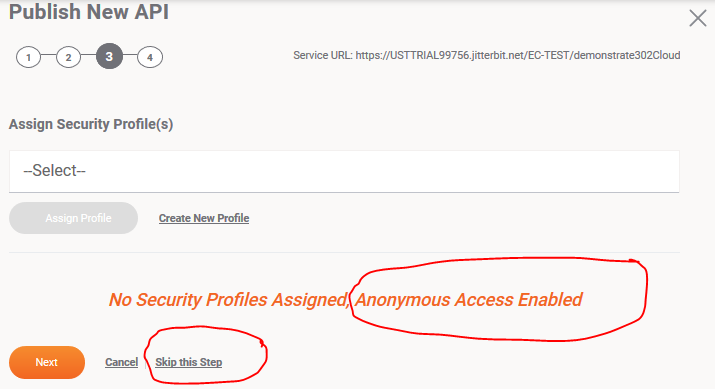
On page 3, just click “Skip This Step” if you’re okay with anyone in the world who has the URL to your new “API endpoint” being able to visit it.
(You can set IP address restrictions, etc. if you’d like.)
Click the round orange “Save & Publish” button.
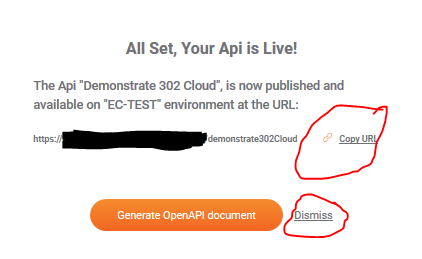
In the congratulatory pop-up, click “Copy URL” and then click “Dismiss.”
Test Your API
Paste the URL you just copied into a web browser and go visit it.
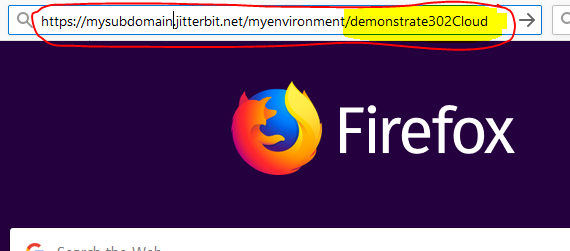
You should end up at https://example.com/ instead.
Congratulations – you just “Hello World”‘ed yourself.
Wave hello back!
- (Ahem – considering the times we’re in – perhaps “wave” by taking 10 minutes to donate to a local food pantry or homeless shelter?)
- (And, if you’re in the US and haven’t yet, fill out your census form!)
Links
- API Manager documentation
- System variables that let Operations deal with “API” input/output
- Documentation of the Cloud Studio “script pattern” used in this example

Posts In This Series
- Part 1 - Jitterbit Hosted APIs: Hello World tutorials
- Part 2 - This Article
