Gatsby Cloud live previews for Sanity-based sites
21 Jul 2020
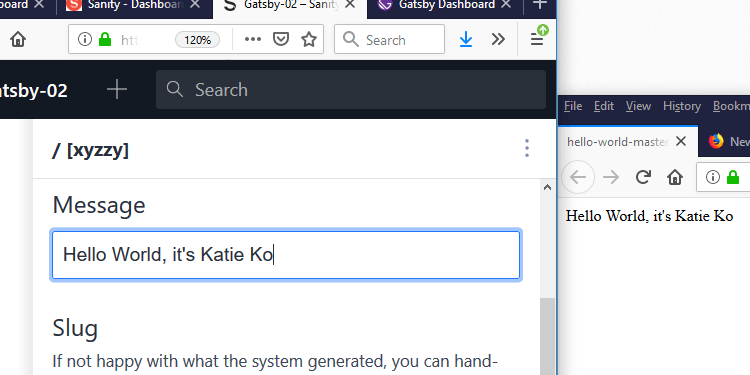
Table of Contents
For most projects in this series, I haven’t talked about deployment of your Gatsby codebase to a web host because great official documentation already exists from hosts like Netlify.
However, this project isn’t entirely self-contained the way my other projects were. There are very specific pieces of data to put into “environment variables” for my project, so I’ll show you the step-by-step I do to deploy this site onto the internet.
Besides – we need to see the cool Instant Preview!
Thanks for sticking with me through a 3-post project (see posts #1 about Sanity and #2 about Gatsby).
In this post, I’ll build the long-promised Live Preview editing experience that updates preview.my-awesome-site.com in real time as a content author types data into Sanity Studio.
Deploy to GitHub
First, log into GitHub if you already have an account you’re willing to authorize Gatsby Cloud (and Netlify, if you want to host your production site there) to edit on your behalf (Gatsby Cloud will also be able to see the e-mail address you used to sign up for the GitHub account). If not, create a new GitHub account and log into it. I created one called gatsbyclouddemo.
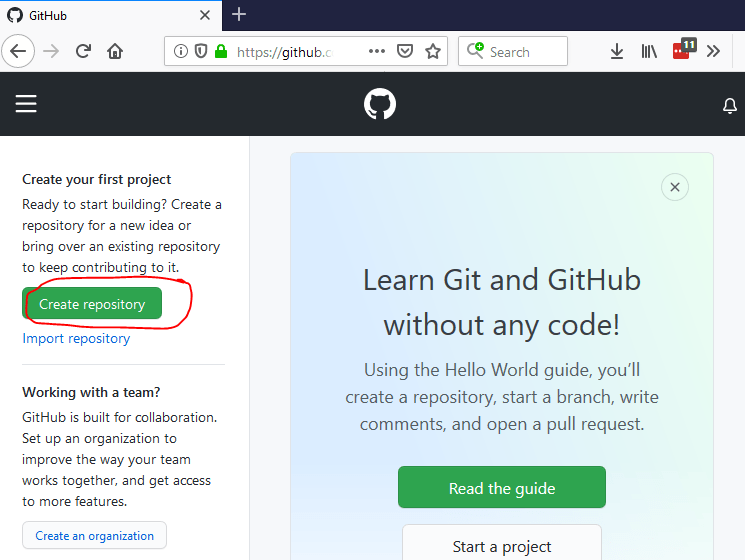
Navigate to plain old https://github.com/ once logged in and click “Create Repository.”
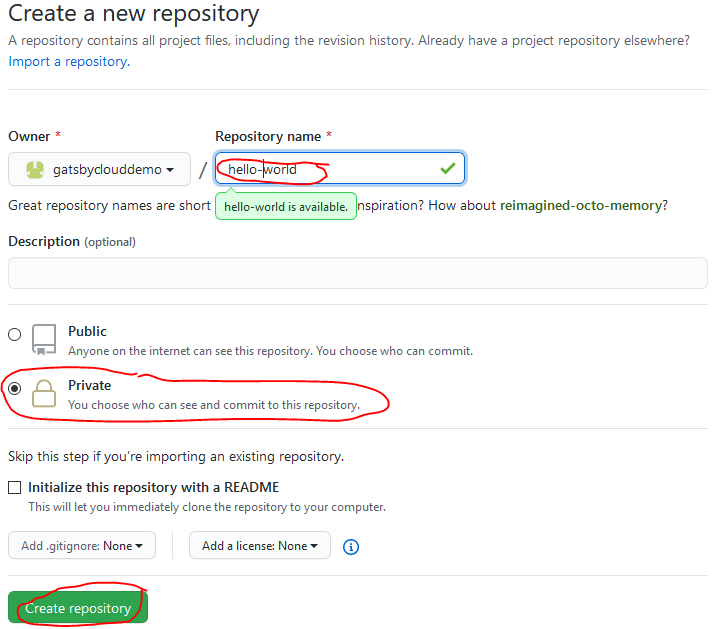
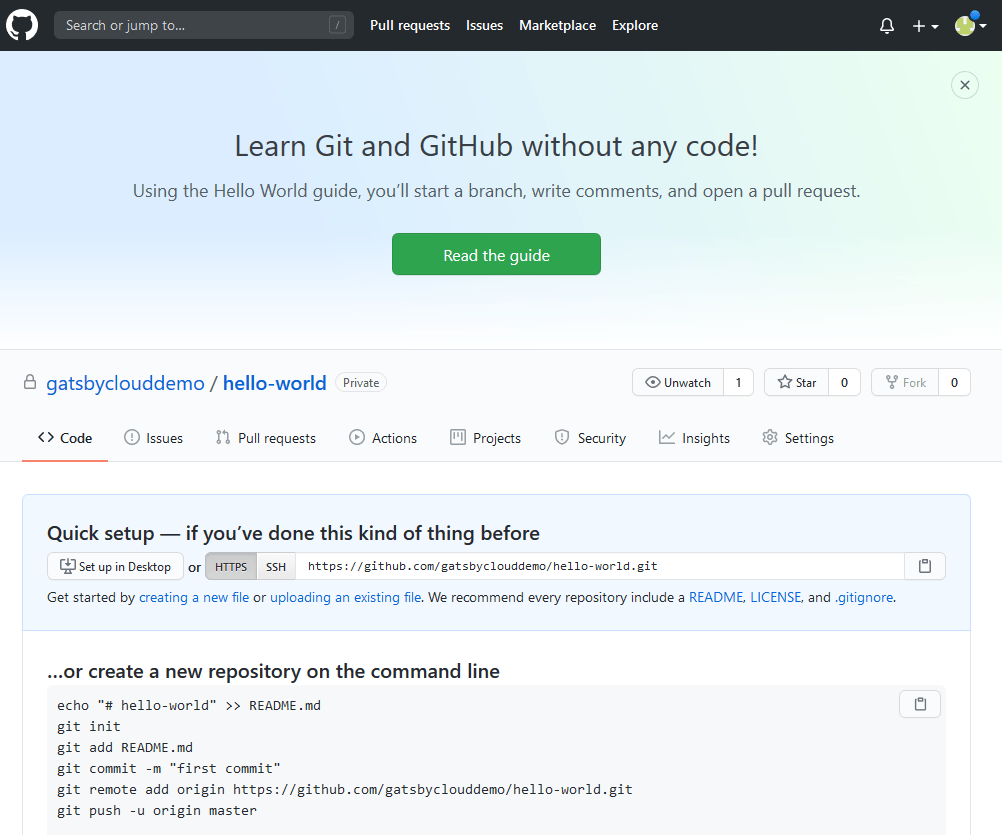
Pick a name for your repository – I’ll call mine hello-world. I like to set mine to private as a habit, but you can leave it public if you prefer. Click “Create Repository” at the bottom of the form.
You should be taken to https://github.com/your-github-username/your-repository-name and see a screen with an empty repository like this:
Ordinarily, I’d use SourceTree software to force my computer’s copy of Git software to track the contents of C:\example\mysite_gatsby (which is where I stored my files from the previous post) and associate them with https://github.com/gatsbyclouddemo/hello-world because I like SourceTree’s user interface.
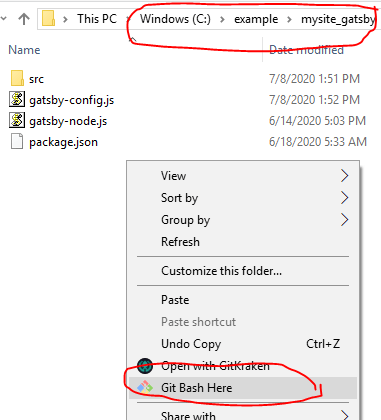
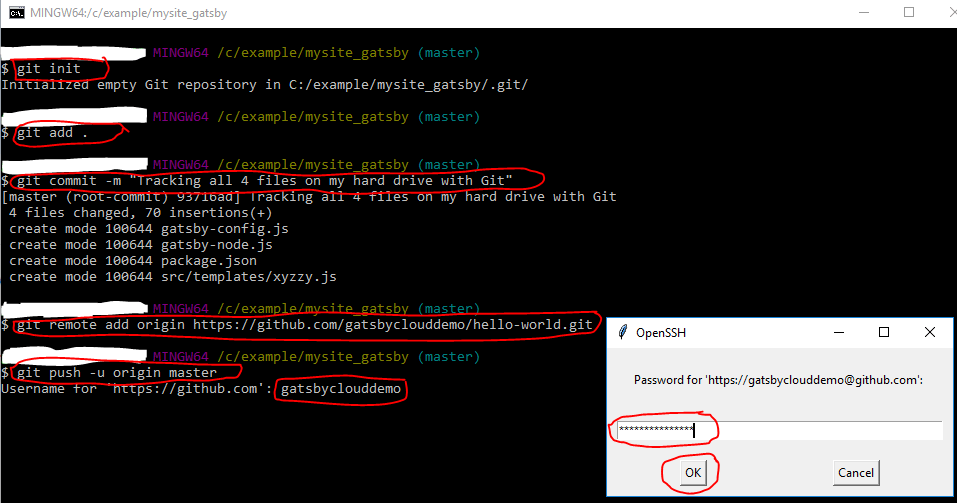
However, this is a quick one-off deploy, so I’m going to use a command-line interface to tell Git what to do instead. That way, I don’t have to take as many screenshots for the tutorial. I’ll run the following 5 commands back-to-back:
git init
git add .
git commit -m "Tracking all 4 files on my hard drive with Git"
git remote add origin https://github.com/my-github-username/my-repository-name.git
(Note that for me, the URL after the word origin needs to be https://github.com/gatsbyclouddemo/hello-world.git)
git push -u origin master
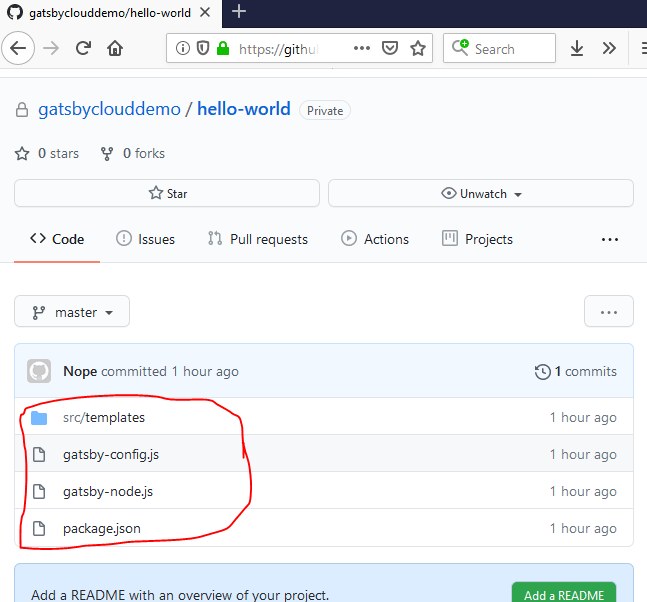
Upon reloading my repository’s web site at https://github.com/gatsbyclouddemo/hello-world, I now see a file-and-folder structure that matches the one on my hard drive.
Set up Gatsby Cloud
Go to the Gatsby Cloud Dashboard and click “Sign In with GitHub.”
Click “Authorize Gatsby Cloud by gatsby-inc”
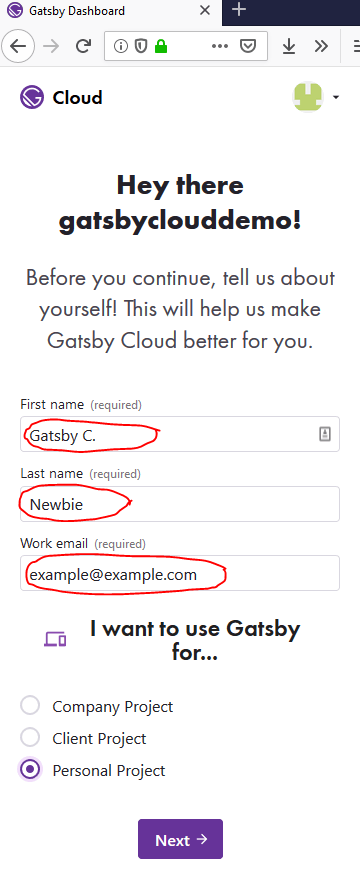
Once you log into Gatsby Cloud with GitHub, you will be prompted to put a few details about yourself (name and email) into a form for inside of Gatsby Cloud’s system.
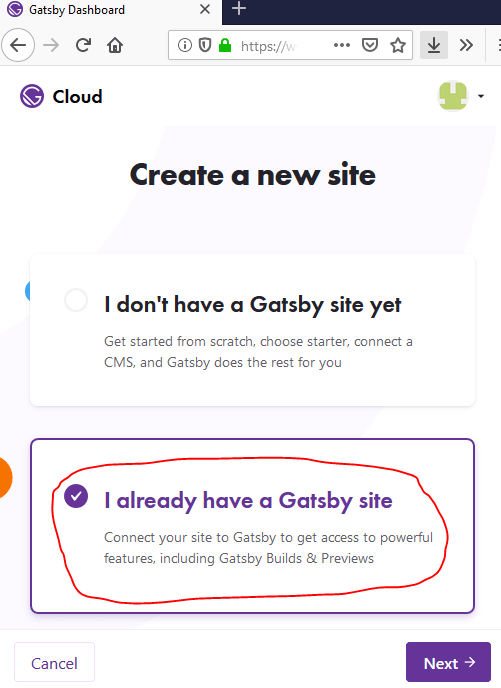
Next, you will be prompted to add a “site” to Gatsby Cloud.
Since you already created a GitHub repository with every file the Gatsby SSG needs for building a web site, choose “I already have a Gatsby site.”
When asked, “Where should we host this new project?” click “Select Destination.”
In the pop-up, choose the “Only select repositories” radio button, find your project (mine is gatsbyclouddemo/hello-world), and click the “Install” button.
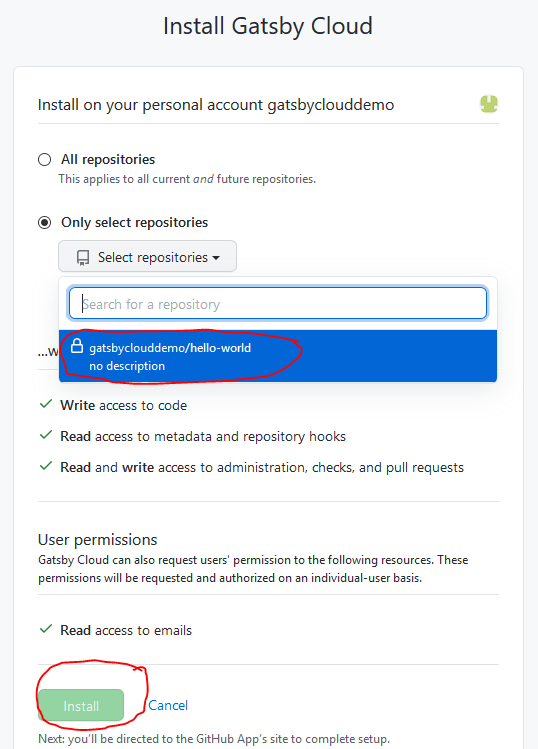
GitHub will prompt you to enter your GitHub password within the pop-up – after you do, GitHub will think and the pop-up will close itself.
Back in the Gatsby Cloud window, you’ll be prompted to “Select an organization & repository.” Fill in the prompts, finding the repository and leaving the extra form fields that pop up the way Gatsby auto-populates them.

When prompted about integrations, click “Skip this step,” even though you’ll see Sanity CMS in the list. We’re doing things manually to make sure we’re not locked into any vendor’s ecosystem too badly.

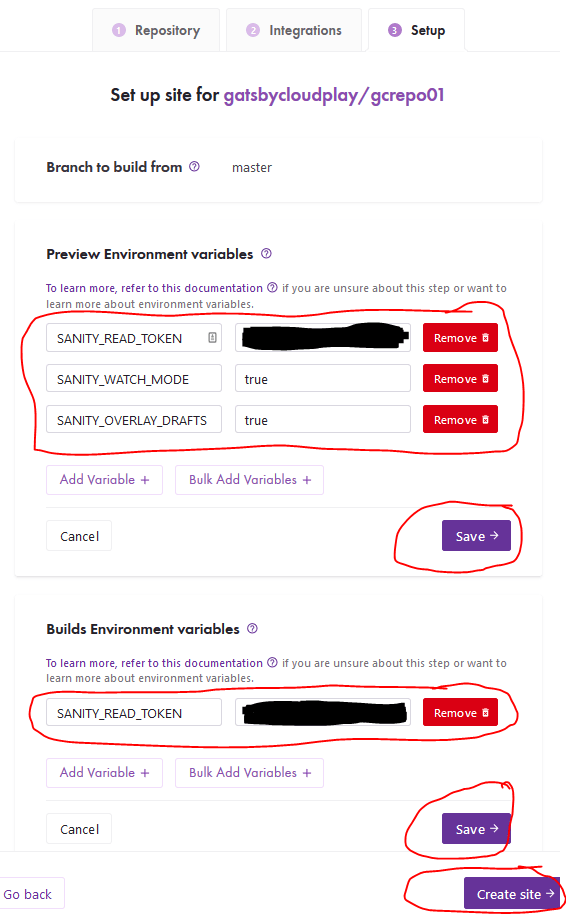
When prompted about environment variables, set them up as following, saving each section before clicking the “Create site” button.
- Preview environment variables
SANITY_READ_TOKEN= (whatever API token you set up in Sanity for your project’s dataset)SANITY_WATCH_MODE=trueSANITY_OVERLAY_DRAFTS=true
- Builds environment variables
SANITY_READ_TOKEN= (whatever API token you set up in Sanity for your project’s dataset)
Wait a few minutes while Gatsby Cloud runs the Gatsby static site generator to build your web site.
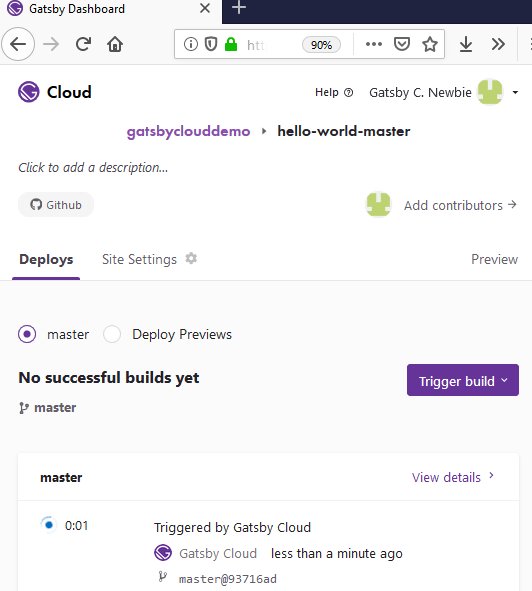
Look at your static website
When the Gatsby SSG has finished building your web site, a URL along the lines of https://build-ABCDE.gtsb.io will appear in your Gatsby Cloud control panel.
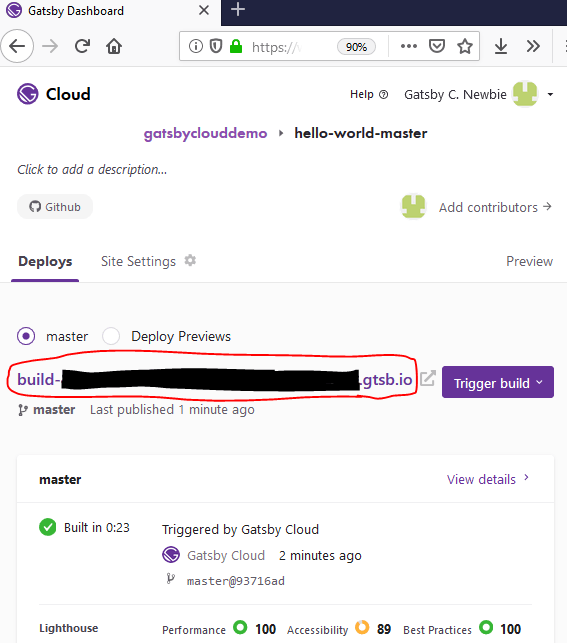
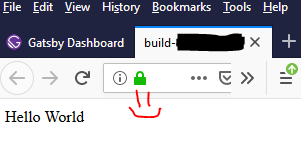
Click it to see the “Hello World” web site you built and have a little party!
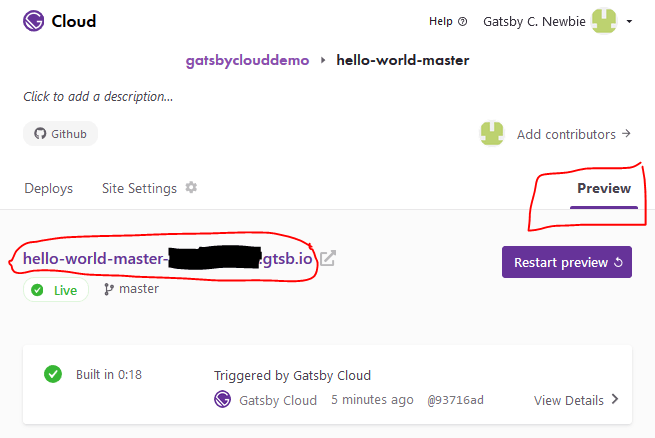
Edit your preview website live
Now click the “Preview” tab in the Gatsby Cloud control panel. Hopefully, a preview has also finished building by now with a URL along the lines of https://repo-name-branch-name-ZYXWV.gtsb.io
In a new browser window, shrinking windows so you can see both “Sanity Studio” and your “preview site” at the same time, go to the “Sanity Studio” URL you pushed into Sanity’s cloud.
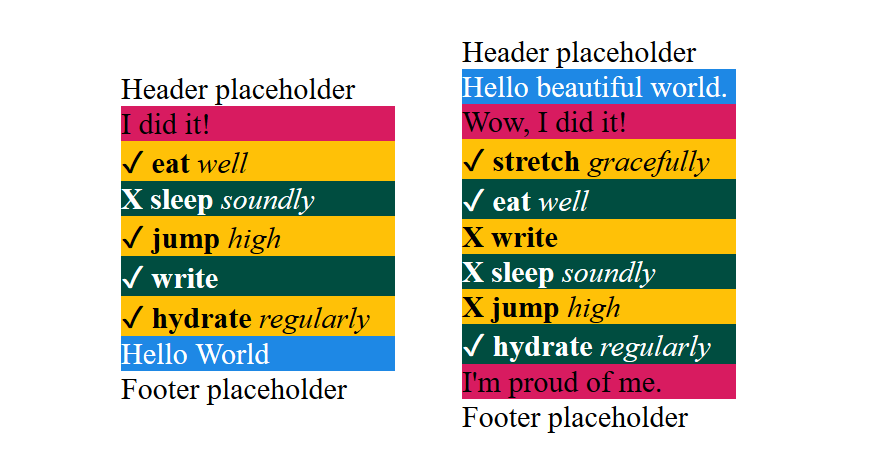
Edit your data in Sanity Studio and watch your “preview” website hosted by Gatsby Cloud change live.
Live editing works through the magic of Gatsby building a DOM for your web site in a visitor’s browser out of JavaScript, as well as the magic of Sanity CMS publishing additional data to its API with every keystroke that your Gatsby site’s JavaScript can listen for.
I’m pretty sure Gatsby Cloud doesn’t even bother with the formalities of rendering static HTML into the “page source” for preview sites – when I did “view source,” I didn’t see a <div>Hello World</div> anywhere. Just a bunch of JavaScript file references.
Configure Sanity to rebuild your static website
Once you edit your “Hello World” message to say something new and formally Publish your changes in the Sanity CMS, you’ll probably want those changes to show up on your “built” web site.
Remember – “static” web sites don’t automatically query for fresh data every time a new visitor comes to your site the way “dynamic” web sites do.
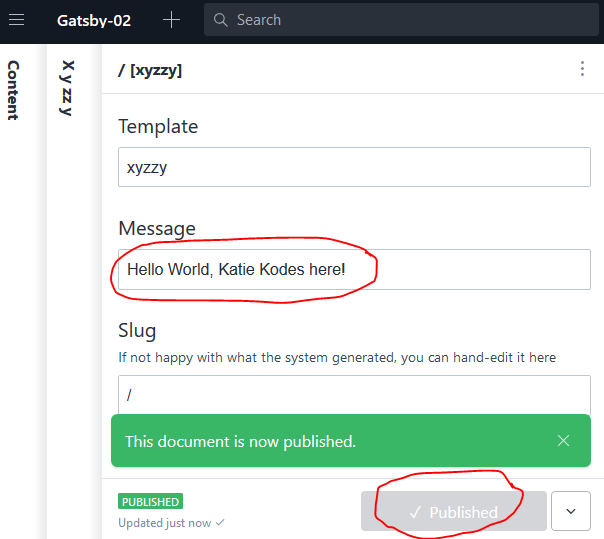
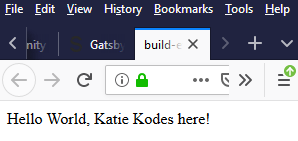
If you want a different message to show, such as “Hello World, Katie Kodes here!,” you’ll have to force Gatsby Cloud to run the Gatsby SSG again and rebuild the “build” copy of your web site every time you formally “publish” data in Sanity CMS.
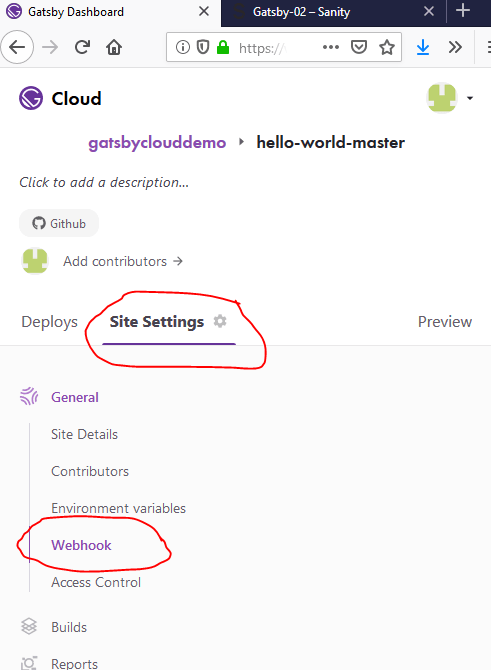
In your Gatsby Cloud control panel, visit the “Site Settings” tab and under “General,” click the “Webhook” menu item.
Copy the “Builds Webhook” field value to your clipboard.

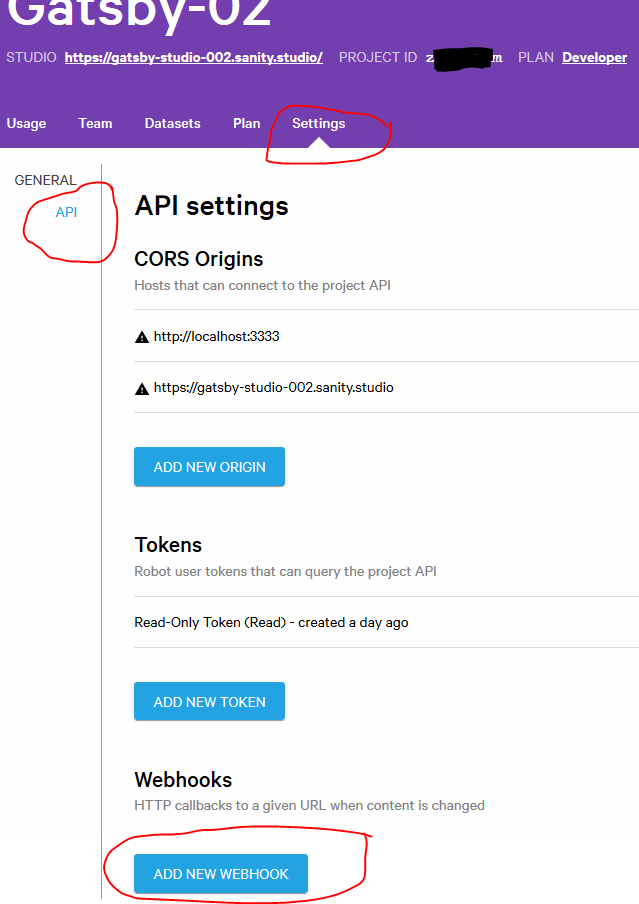
Back in your Sanity management portal (https://manage.sanity.io), click the “Settings” for your Sanity project and click the “API” left-navigation option.
Click the “Add New Webook” button.
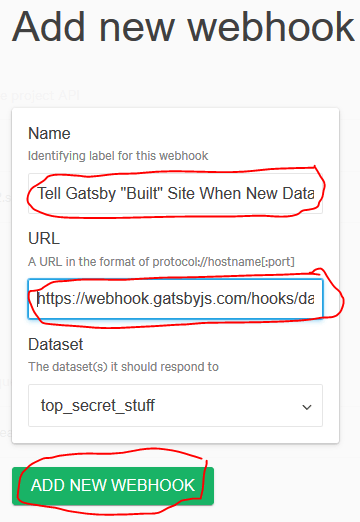
Give your webhook a meaningful name and paste in the URL from Gatsby Cloud, then click “Add New Webhook.”
You should see your new webhook listed in the “Settings / API” section of your project in Sanity’s management portal.

Back in Sanity Studio, make some changes and “publish” them.
In your Gatsby Cloud configuration panel, visit your https://build-FGHIJ.gtsb.io URL once the “Data update from Sanity” built is complete.
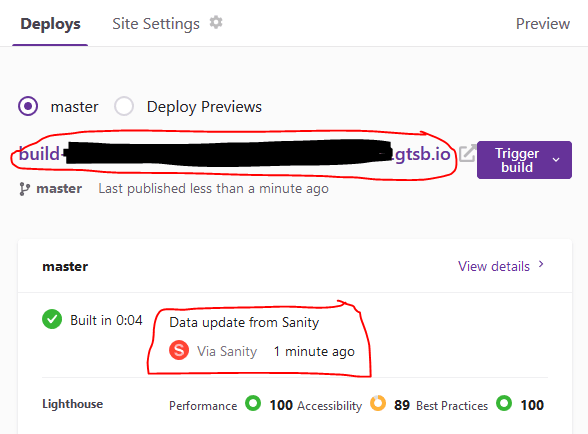
Behold your updated “production,” “static” site. Ta-daaaaaaaa.
You might also want to add a web hook into Sanity for the Gatsby Cloud preview site to update upon publication of Sanity data. Otherwise, it gets a bit out-of-sync with the built environment, which could confuse content authors.
There’s no rule, by the way, that says you have to use Gatsby Cloud to host your production web site. You could ignore the “built” pages it’s working so hard to make for you and give another host+SSG-running service like Netlify access to your git repository as well. You would copy a “webhook” URL out of that host’s configuration panel and put it into your Sanity project.
Or do “build” webhooks to both services, if you’re feeling frisky.
Issues with Gatsby Cloud
Preview URLs disappear
I haven’t dug into fixing this, but one thing I’ve noticed is that my preview URLs eventually die in Gatsby Cloud.
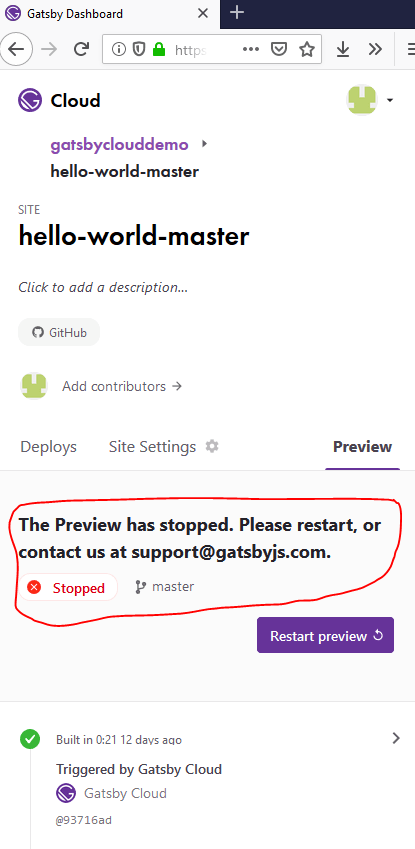
That’s not good if I’m counting on the preview instance to be alive at https://preview.mysite.com waiting for content authors to visit.
Previewing is limited
Apparently it’s a good thing I only typed a few characters, because according to Gatsby Cloud’s pricing page, there aren’t a lot of “edits” (keystroke renders in preview or site builds) built into the free plan.
Between the disappearing previews (which, to be fair, I haven’t looked into methods of keeping alive) and these limitations, for a free-tier production site, I might use a service like Heroku to host the Gatsby engine responsible for https://preview.mysite.com, rather than relying upon Gatsby Cloud.
No incremental production builds with free
Pricing also mentions that although Gatsby Cloud claims to beat, say, Netlify, for full-site Gatsby build speed, they don’t give away “incremental” site builds for free the way Netlify does.
Hard to say if that would actually matter to me.
Next project
Remember the “drag-and-drop page sections” WYSIWYG project?
I made it in Gatsby and Sanity with live previews. Can’t wait to show you how.

Posts in this series
- Part 1 - Gatsby for novices and dabblers
- Part 2 - Gatsby Minimum Viable Build
- Part 3 - Gatsby React Minimum Viable Markdown Template / Component
- Part 4 - Gatsby React WYSIWYG CMS-Friendly Markdown
- Part 5 - Why WYSIWYG static site CMS's love Gatsby
- Part 6 - Sanity CMS Minimum Viable Build
- Part 7 - Gatsby Minimum Viable Sanity Template
- Part 8 - This Article
- Part 9 - Heroku live previews for Gatsby + Sanity sites
- Part 10 - Movable page builder components in Sanity CMS
